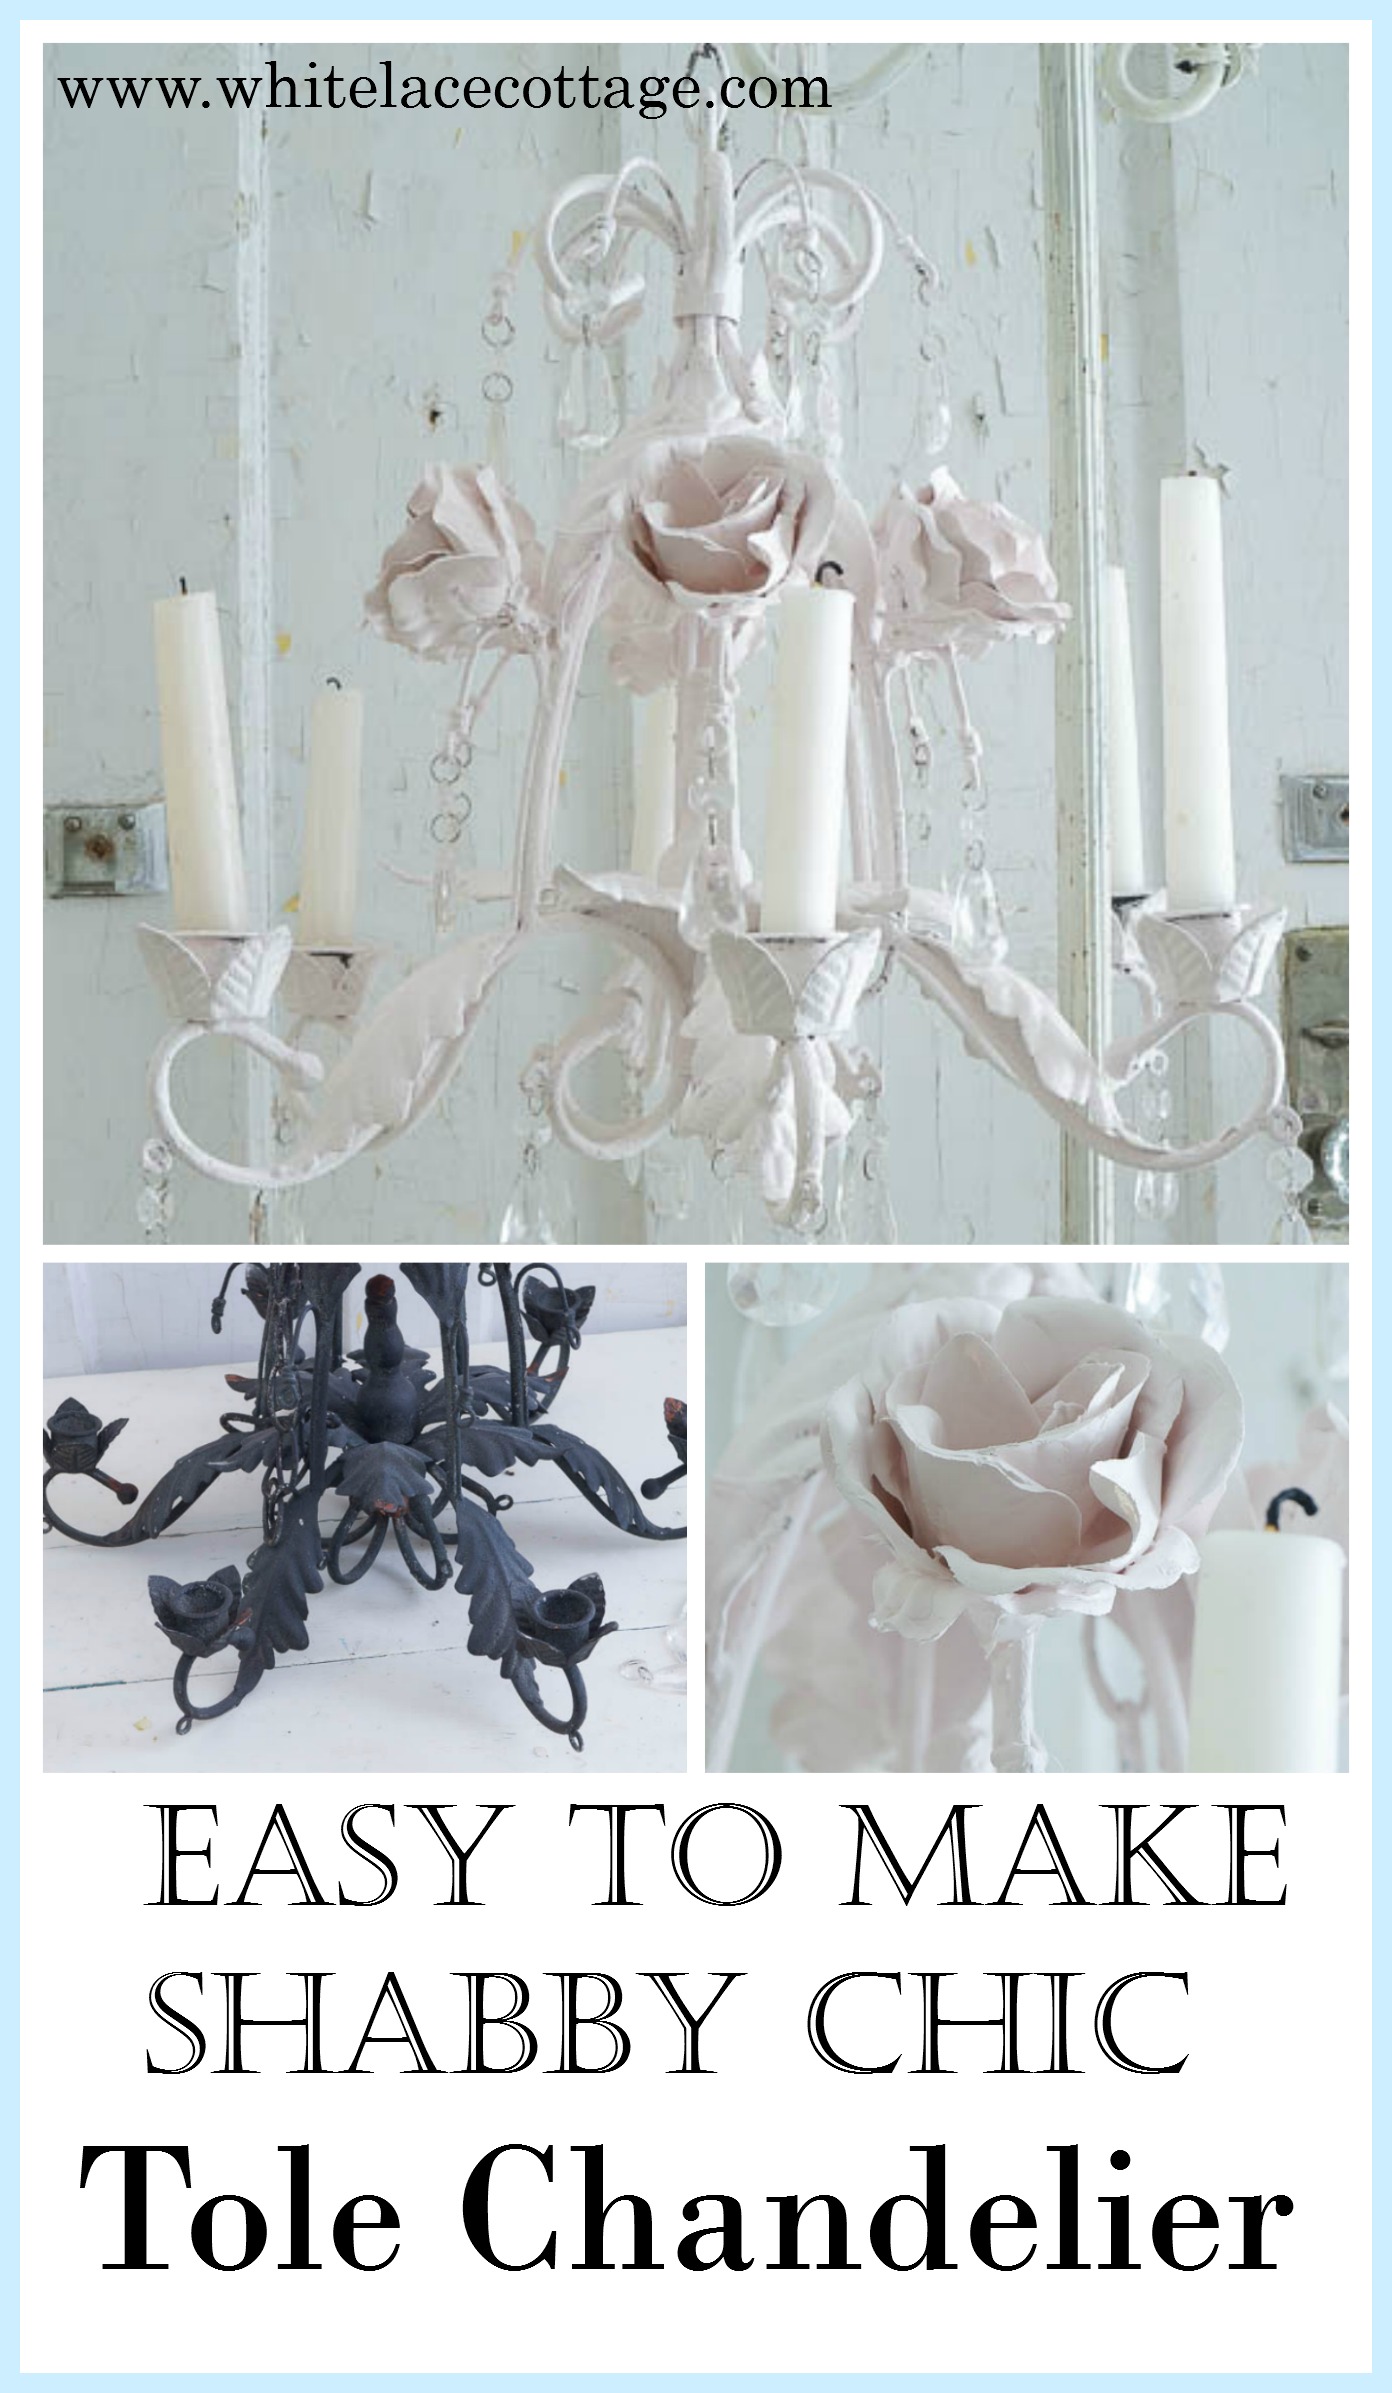
Tole Chandelier
Many years ago I discovered the world of Shabby Chic. I remember the first time I saw a beautiful tole chandelier, I was totally smitten as one can be with a chandelier. I must admit I have not been very lucky to score the real thing. The price is usually out of my range, remember I’m el cheapo, and they are hard to find around here.
After I shared my faux porcelain roses, more ideas started running through my head. A few years ago I purchased this lovely candle chandelier. It was sort of blah and boring. No offense if you have one of these and you like it the way it was. But I can never leave well enough alone. I need to mess with it. Hmm could it be that I have a control issue?
(This post contains affiliate links)
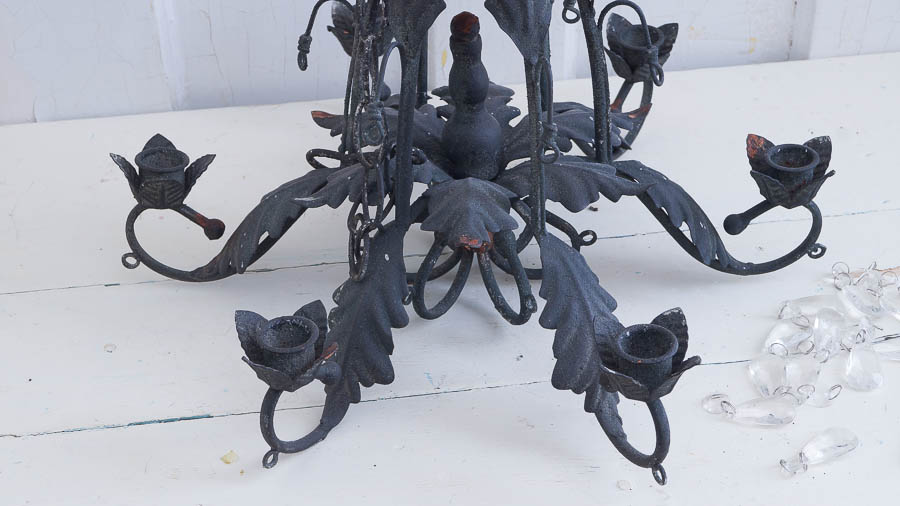
At the time I decided not to paint it, because I liked the contrast of the black against the whites I had in my family room. But after sharing my DIY Chalk Type Paint Faux Porcelain Roses project, I knew how I could make this piece a little shabbier.
So what am I going to do with this? Make it into a faux Shabby Chic tole candle chandelier of course silly. This DIY project is very easy, yes making a Shabby tole chandelier is quite easy.
How To Transform A Candelier Into A Faux Tole Chandelier
- First step was to take off those glass prisms. Now that was a job, but I got it done! It’s much easier to paint without those on.
- Next step, paint my candle chandelier. Now, I know some of you are probably thinking that this would be much easier to spray paint. I have to disagree. I have spray painted many pieces, and I end up spraying everything but the piece I’m painting. Well, maybe it’s just me and I’m a sloppy painter which could be true. Well, it is true dagnabbit! I’m a sloppy painter. Anyway I hate the fumes and smell. Even if I wear a mask, I know I am still breathing in toxic stinky fumes. And you can’t get a crackled, paint layered look using spray paint.
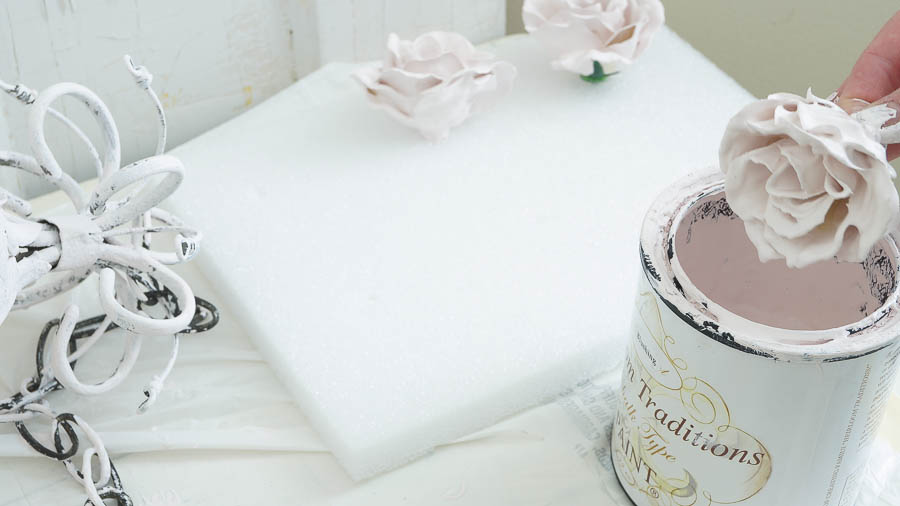
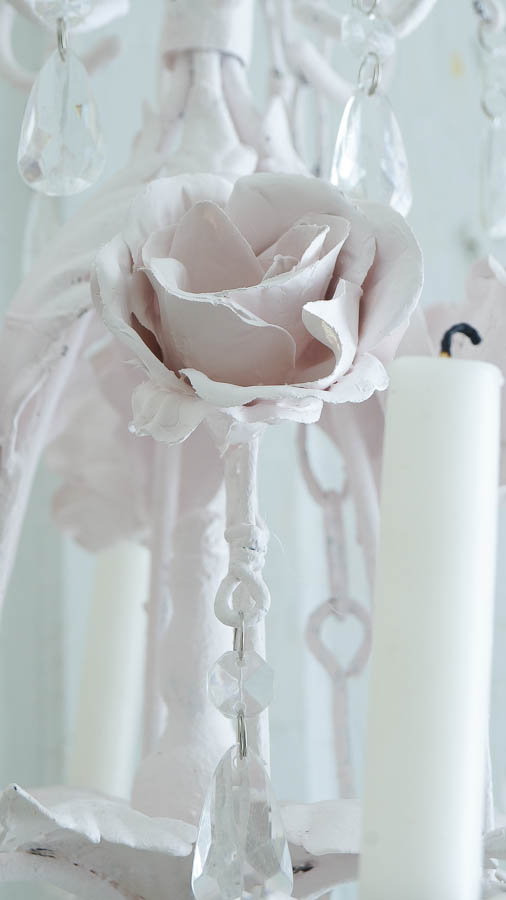
- This was painted using Heirloom Traditions paint in Blushing.
This took 4 coats of paint. The great thing about chalky paint is that it adheres to just about everything. I love how this paint crackles and crazes!
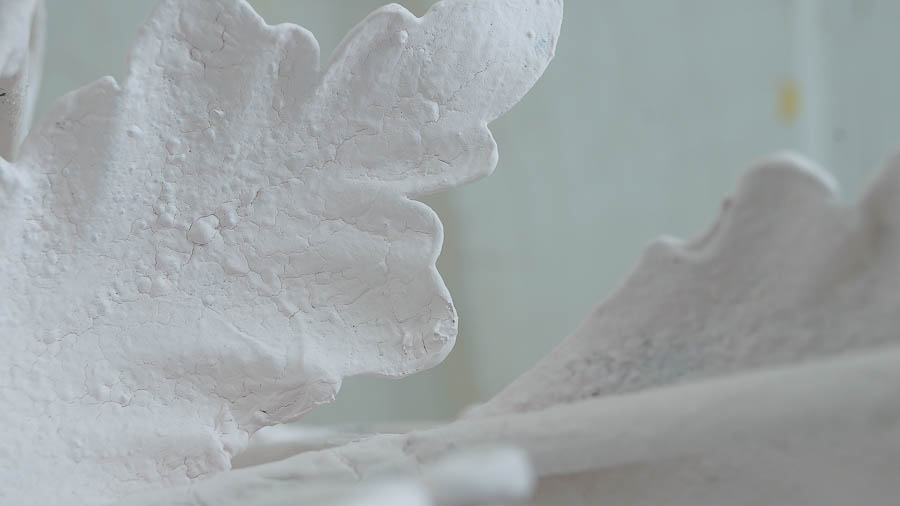
Isn’t that texture cool! What is it with me and cracked paint. I don’t really know, but it really makes my heart skip a beat, for real! As always I pulled out my pink hairdryer to create that effect. Please don’t use a high heat setting or apply the heat to close. Read my disclosure policy.
Time To Make The Roses
This is the same technique that I shared HERE. Simply dip in a silk rose bud into the chalk type paint, tap the excess off on the can, then let it dry on a styrofoam tray. This is a tad messy so wear gloves and use caution.
After this candle chandelier was painted and dried, and my faux tole roses were dry it was time to start gluing this onto my candle chandelier.
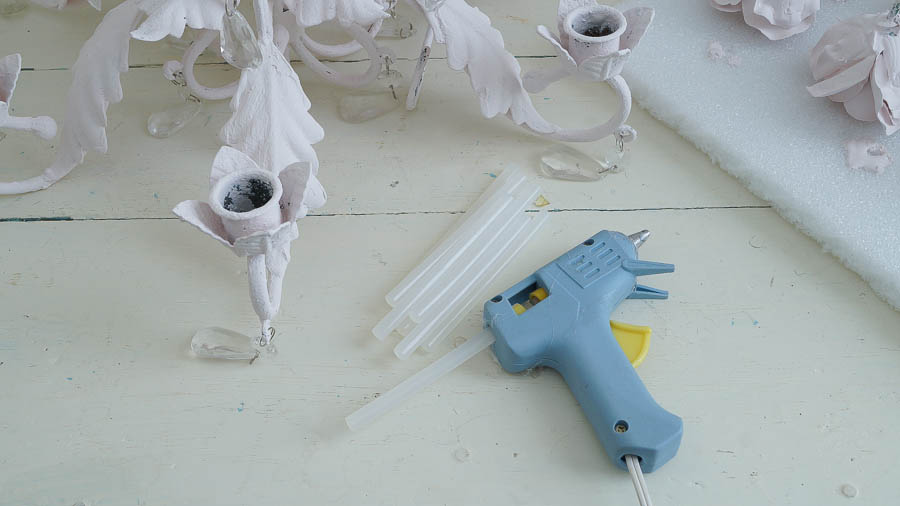
Say hello to my little friend. Ah yes, my glue gun. It’s my little bad boy, it helps me get the job done. Yeah y’all know that I’m not patient, and I don’t like to wait for results. When I’m crafting and that happens I’ll either pull out my hairdryer or glue gun. Both tools make the job go quicker. See, I told you that I’m impatient. If you would like, you can use a stronger glue. But it will take longer to dry, and you’ll have to sit there holding each flower until the glue drys. Ain’t nobody got time for that, especially miss lazy, impatience pants, that would be me 😉
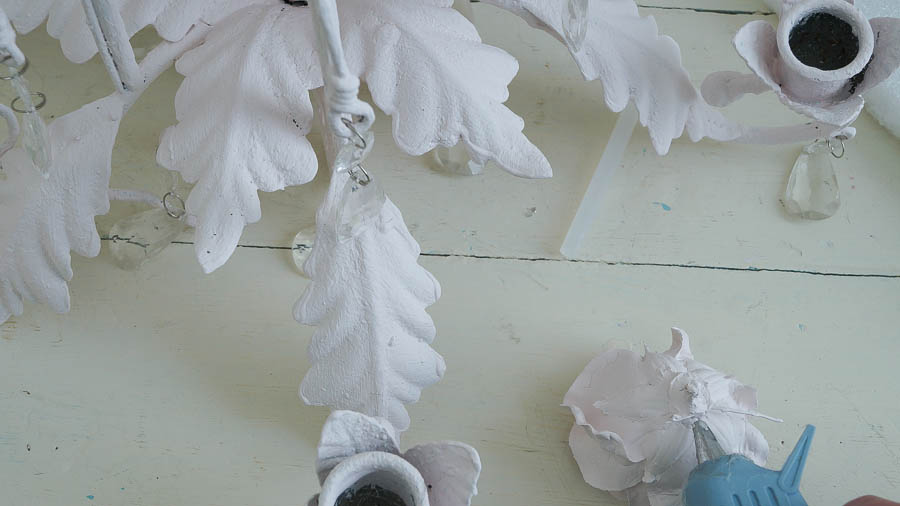
Don’t worry about touching up the underneath part of your rose. You can always do that after you glue. Or you can leave it because let’s be honest, who’s going to see that? Nobody unless you have a nosy friend, to which you shouldn’t have a friend like that anyway.
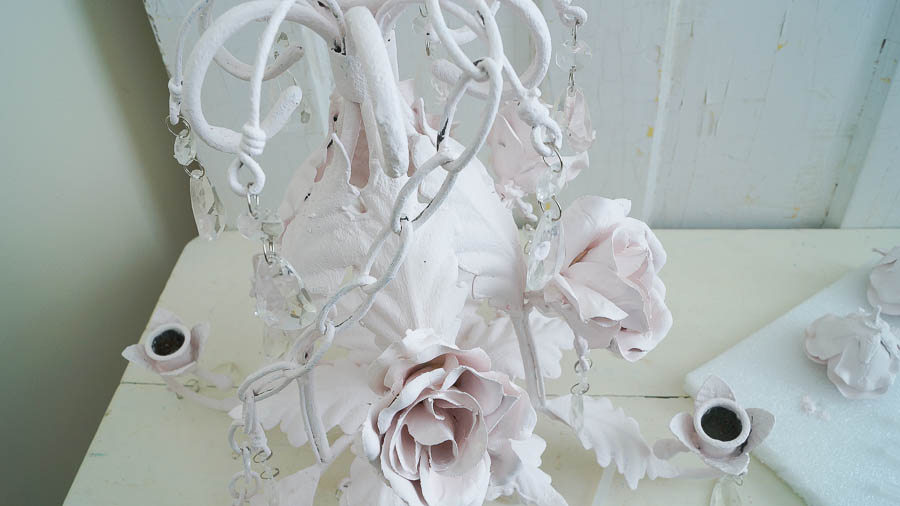
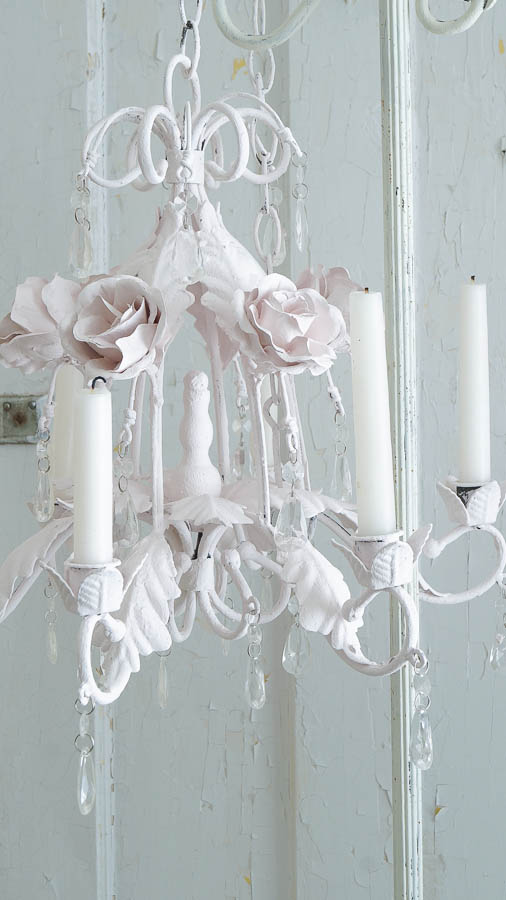
When I finished gluing my tole roses onto my candle chandelier, I touched up the glue with my chalk type paint. And here it is all prettied up and finished (saying that with that southern accent again)
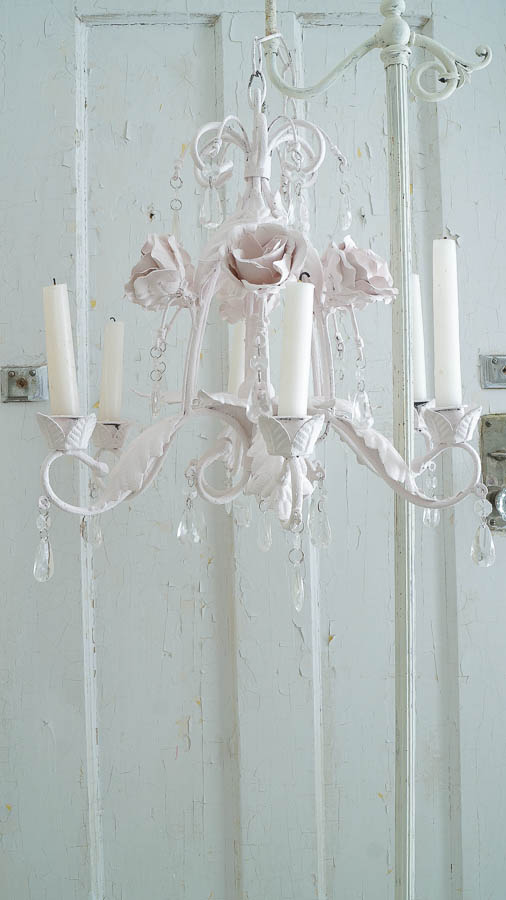
This was a simple project and shows how versatile chalk type paint is. You can transform just about anything. Seriously you can. I’ve painted, fabric, walls, furniture, glass, and flowers with this amazing paint.
Now I know vintage Shabby Chic tole chandeliers are many colors. The leaves are usually green, and the flowers can be multicolored. But I wanted a soft pink color. I was not trying to copy a real tole chandelier, but I was inspired by them and make something that is a reflection of me and my style.
Have fun with this, and use colors that you would like. These don’t have to be roses either. I’ve seen daisies and daffodils on a real tole chandelier. Experiment and have fun. This is a messy project so make sure to wear gloves and project the area you are working in. If you want extra credit you can apply a top coat spray sealer. But I didn’t apply anything to mine.
Next time you are out treasure hunting, look for an old chandelier or a candelabra that needs a little update. And don’t worry if the light or not. These make beautiful accents in a room even when they don’t work. And you can always transform yours into a candle chandelier too!
Purchase Heirloom Traditions Blushing HERE

Absolutely beautiful! I love the way this turned out. Wonderful idea!
Thanks so much Anne!
Anne, This is adorable! Great idea using the silk flowers.
Hugs,
Sherry
Thanks so much Sherry!
Hi – just wanted to let you know how excited I am when I open up my emails and see your latest post – Im in Australia and I want to let you know that I have learned so much from your wonderful ideas – truly, you are amazing!!! Thank you for ALL your great ideas and inspiration, they feed my soul and Im so pleased I ‘found’ you somehow on the net. Much luv Cathy xxx
Thanks so much Cathy! You brightened my day reading this!
Anne, this turned out so pretty! I am going to do some flowers! I’ve dipped pine cones in chalk paint, but never thought about the silk flowers. Thanks so much for sharing!
I will have to try pine cones next Christmas Melanie! Thanks for sharing 🙂
What a great way to make something just a little more special.Thanks Anne.
Your welcome Marlene <3
Anne this is such a beautiful transformation. The roses just makes it look like a very expensive chandelier. Great job.
Mary @ Orphans With Makeup
Thanks so much Mary!
Love this use for your faux porcelain roses. I found chalk paint at Micheal’s yesterday and ran straight to the Dollar Tree to grab some roses! Can’t wait to try this!
You are going to have so much fun Laura! I bet you will keep thinking of projects for this 🙂
This is really beautiful!
Thank you Kelly!
Awesome!!
I wholeheartedly agree on painting chandelier by hand, rather than spray!
Love the roses!!
Thanks so much Karen!