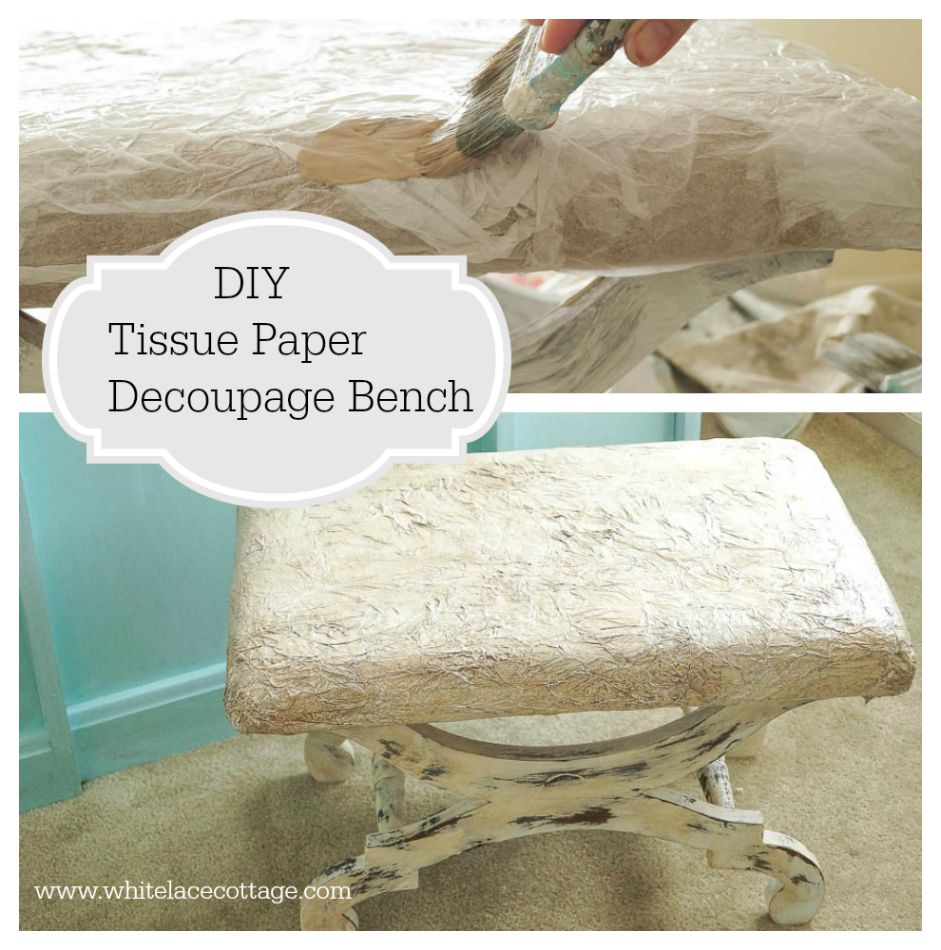
Your going to either think that this project is cool or that I have lost my mind.
Either way I am sharing it 😉
I know that this project will unleash your creativity and will inspire you!
I found this little bench a week ago, and I knew it would be perfect for our den.
You can see the transformation HERE and HERE.
Originally I was going to paint it, but the fabric was really icky.
I mean gross, icky, pet hair…YUCK!
So, I was thinking I would just recover it, but as I reached for the fabric, tissue paper from my stash of stuff in my studio caught my eye.
Then I had a….what if I ….moment.
I knew that this could turn out really cool or really bad.
But hey, you never know until you try right?
Oh yeah, this project was one of my Lucy harebrained ideas.
Sometimes I think my husband Rick, yeah that’s his real name.
But let’s call him Ricky.
Sometimes I think when Ricky comes home, he thinks ay yi yi , what did you do now…..
Ah, he’s actually never reacted that way, he’s very supportive of my creative endeavors.
So here’s a little peek at the before photo of the bench.
See I told you….YUCK!
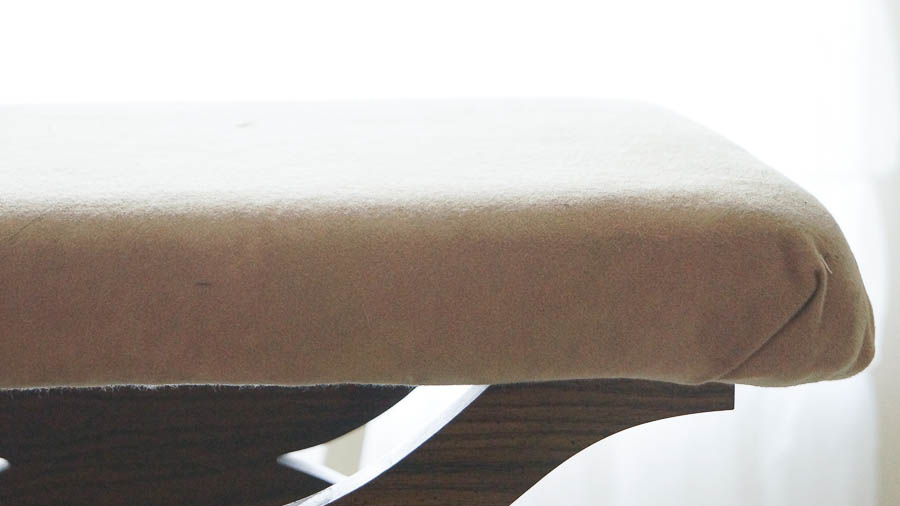
I didn’t realize that I didn’t get a full shot of it, but really it was nothing to look at before.
Believe me!
And you can see that it’s not covered very well either as you can see from the corner of the bench.
So what was I going to do with the tissue paper?
Decoupage it of course!
I was hoping to created a piece that had a pleather look and feel to it.
Well here goes, wish me luck 😉
Nothing like jumping in with both feet.
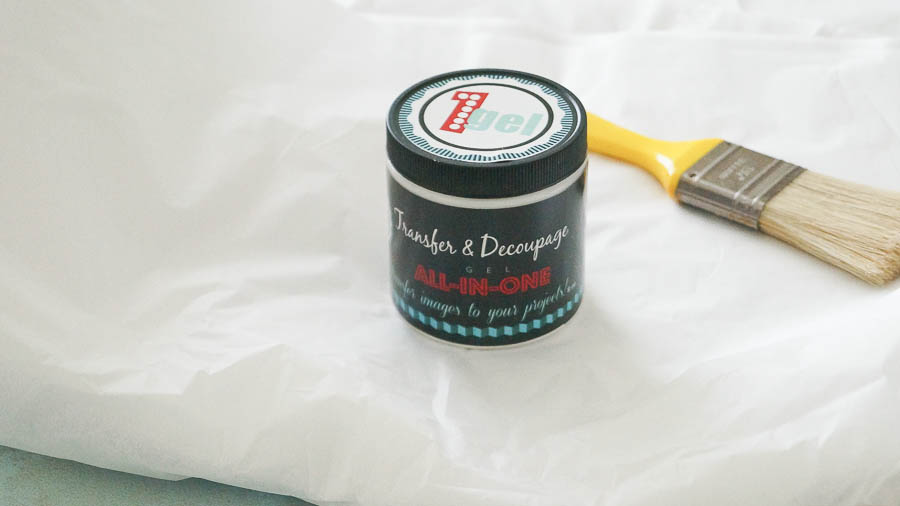
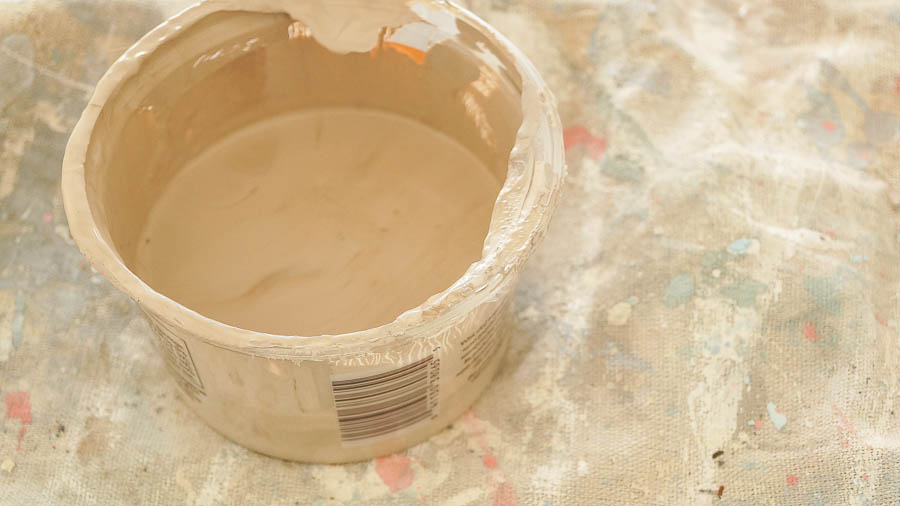
I pulled out my Heirloom Traditions Transfer and Decoupage Gel and started applying it to my bench.
I love this product, and you will be seeing more of it on the blog.
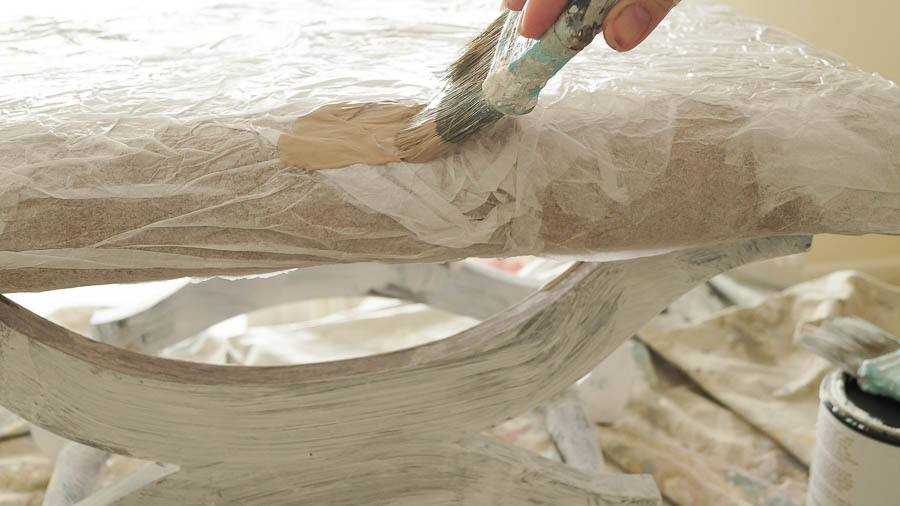
Next, I started to add tissue paper on top.
This was very delicate to work with, and in a few spots it started to tear.
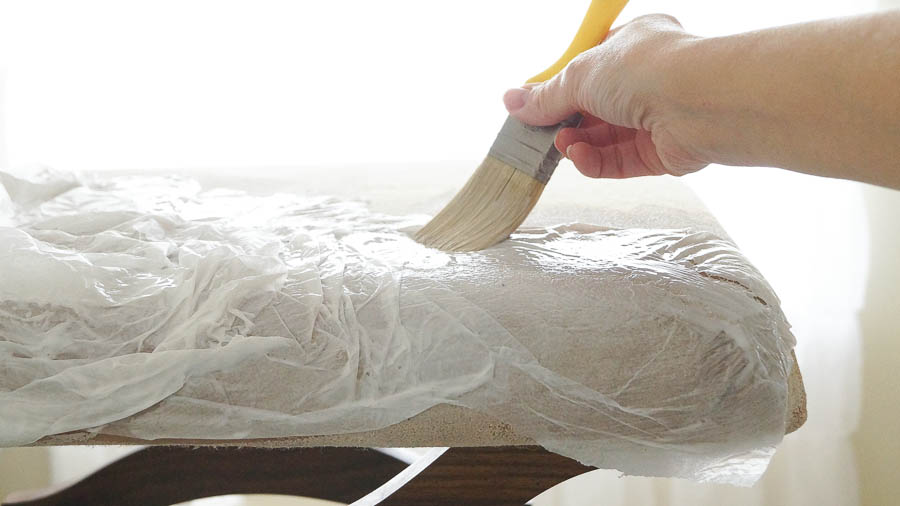
But I kept working and adding the decoupage gel and tissue paper.
If it made a tear, I would repair it, and I kept working.
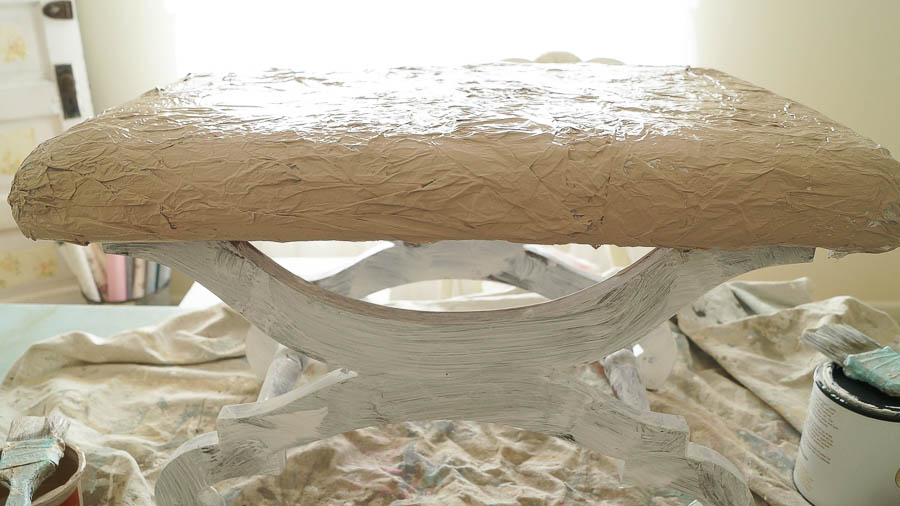
Once it was completely covered in tissue paper, I let it completely dry.
As it was drying I painted the legs of the bench using White Lace, one of my signature colors, available in the shop.
When the top portion of the bench was completely dry I added a mixture of Mocha and White Lace (Heirloom Traditions paint colors)
I painted this mixture on the top part of my bench only.
Once this was dry, I didn’t like the way it looked.
Don’t laugh…but it sort of looked like a frosted chocolate cupcake.
And that’s not the look I was going for.
Or maybe I was just hungry.
Well this needed to fully dry first.
Once it was completely dry, I painted a coat of White Lace on the top portion and the legs too.
Now it was starting to get the look I wanted.
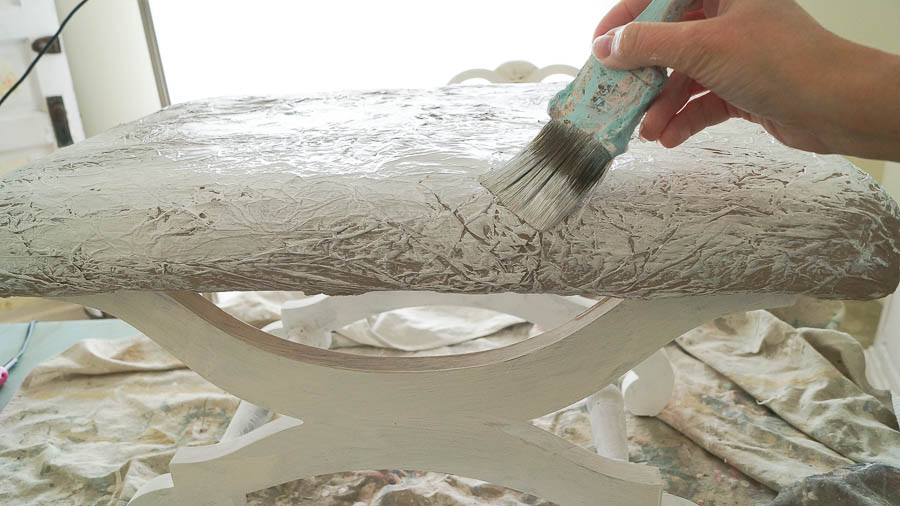
When this last coat of paint was completely dry, I decided to add Muddy pond wax, also from Heirloom Traditions and available in the shop.
I wanted to really bring the details and imperfections out in this piece.
The white paint just wasn’t doing that.
That’s why I love using Muddy Pond, it really brings out all those cool details and imperfections in a piece.
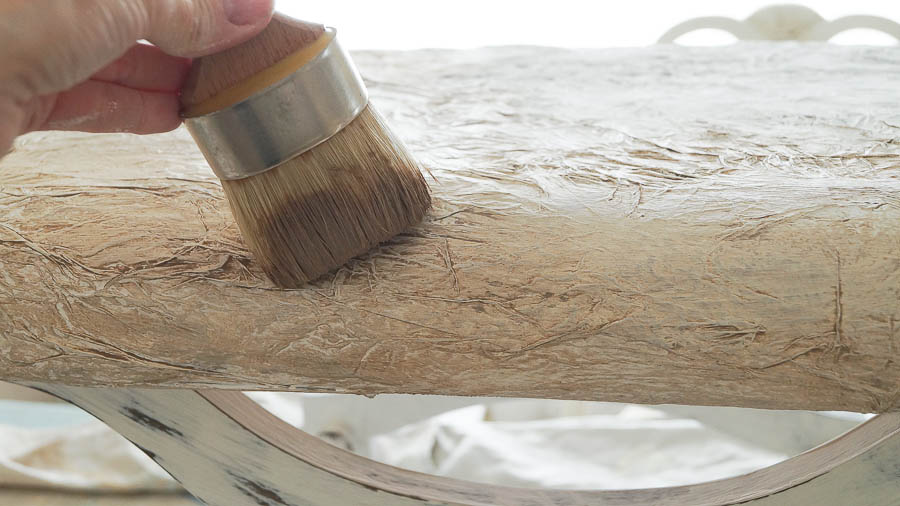
I gently applied the wax using a wax brush.
Doing a section at a time, I applied the wax, then with a clean white cotton t-shirt rag I wiped it off.
But I didn’t rub very hard, as it would have torn the pleather.
I kept on working on my bench until I got the look that I wanted.
I distressed the legs using my water and vinegar technique, you can read about that HERE.
Then I added just a bit of Muddy Pond to the legs.
And here it is, almost done, but not quite.
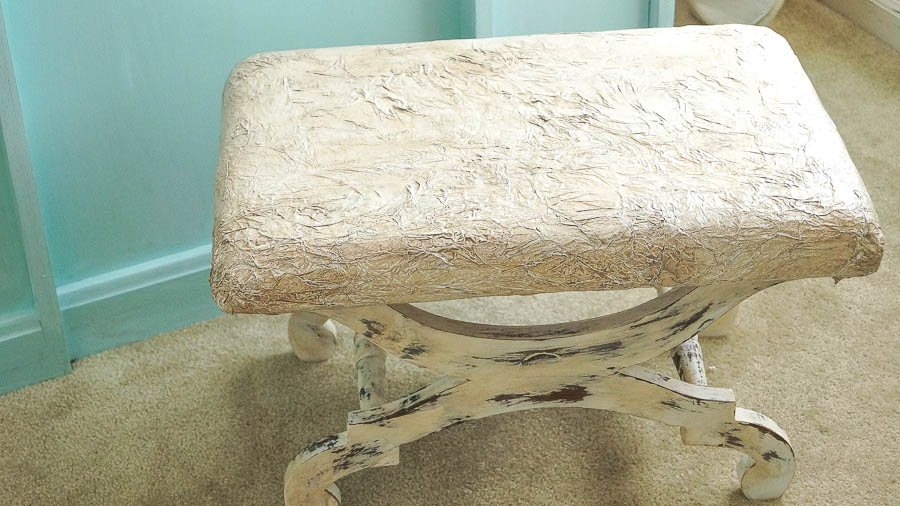
I want to add a little more Muddy Pond wax to the legs, and I am going to seal the top with Aqua clear.
You don’t have to add a sealer on top of the wax, but I would like to try and make this as sturdy as possible since it will be sat on.
The paper stuck perfectly to this piece of fabric.
But remember I said that this fabric was not applied well?
It’s not a really tight fit, and if you place your hand on the bench, it has a slight movement to it.
It’s hard to explain what I mean, or do you know what I mean?
Anyway, I think this turned out pretty cool!
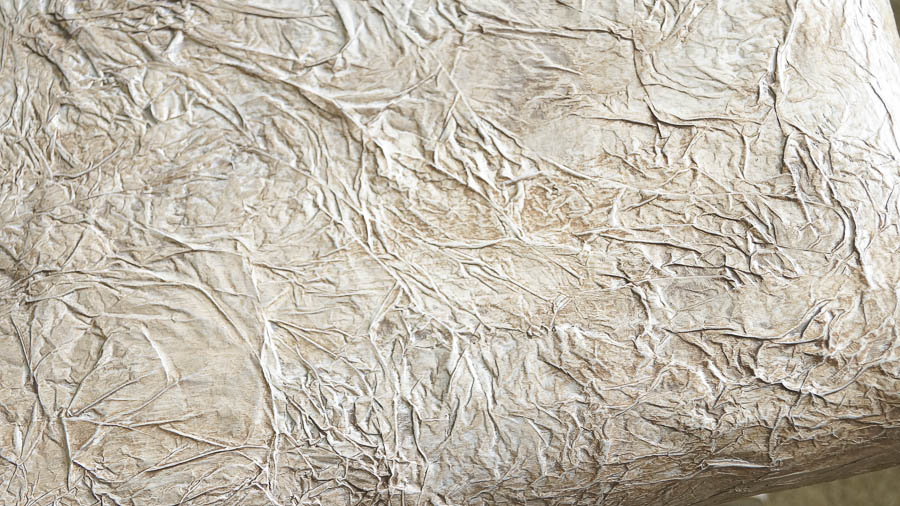
I love the look and the texture, and it works perfectly in the den.
I guess it sort of looks like a paper bag.
When this idea hit me, at first I was going to try using brown paper bag, paper.
I had a stash of that as well, but It thought that might be a little too stiff on top of the fabric.
So what did I learn from my little experiment?
As always, have fun and never be afraid to try something new.
If you have an idea go with it!
And guess what?
This little experiment gave me another idea for my next project.
What kind of an artist are you?
Do you take chances of follow the rules?
***********************************
Resources:
***************************************
***This post contains affiliate links. Please read disclosure policy**

One word: amazing. You are so creative, Anne, and I love how you always surprise us with another ingenious project! This is really cool! 🙂
xoxo laurie
Thank you Laurie!
I love that you take chances and if it works great. That is what I tell myself if it works great if not I will try something else. Sometimes if it doesn’t work the piece is put on the back burner for months then it will come to me what to do with it. My husband totally doesn’t get it, but he lives with it.
Yes Patty, it’s all about taking chances.And experimenting with different mediums.
I forgot to tell you I love the way your little stool turned out, it kind of has a crepe material look to it.
Thank you Patty.In person it looks like paper, but feels like pleather.
How do you do it, time and time again creating wonderful pieces. Anne you are so gifted it is just amazing. Have a great day.
Thank you so much Marlene! You too <3
Very interesting but…can you sit on it? I would think with the paper, if you sat on it or put your feet up on it, it might tear.
Really cool idea if it holds up. You certainly DO come up with some amazing ideas!!
Renee
Yes you can absolutely sit on it Renee :-). I thought it would tear also. But the wax an the aqua clear is adding layers of protection on this bench. I’ve been sitting on it and so far so good. But just like pleather and real leather if not careful it could rip of course. But just in general, it’s holding up extremely well, especially since we know how fragile tissue paper is.
Fantastic! I just might have to try this if it does hold up like you say it does. VERY cute idea. 🙂
Thanks for the quick reply too,
Renee
Your welcome Renee!