Most of my work is done on the computer, we have a desktop and laptop.
I prefer to work on my laptop because it’s more comfortable.
Although my photo editing is done on our desktop because the monitor is calibrated better.
Call me paranoid but I worry about my laptop sitting on my lap for too long.
I wonder what the effects of those batteries are if they are sitting that close to my body.
Let me show you how I made this easy DIY Shabby vintage lap desk.
This is what I was using for my laptop, this large breakfast tray.
Besides being really large, it’s not very comfortable at all, and pretty ugly too!
I could go out and purchase a new lap desk but I am too cheap frugal.
And I knew that it would be really easy to make my own.
While I was out thrift shopping I came across this wood tray.
I love the handles and knew that they would come in handy as this will be easy to carry and lift with these handles.
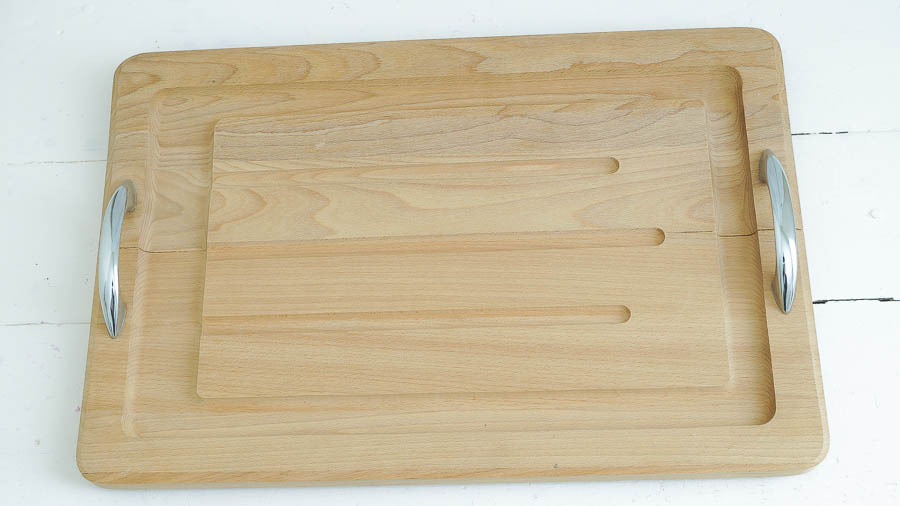
It looked like the perfect size for a lap desk.
I knew I had everything at home, except for some foam.
Off I went to my local craft store, and I picked up a package of foam.
Let’s get started, this is super easy I promise.
Supplies needed for this project.
– Wood cutting board or serving tray (mine is 18 x 12 purchase for 4.00 at a thrift store)
– Fabric enough to cover your foam ( scraps I already had)
– Foam ( I purchased a package of 2 x 22 x 22 inch poly foam)
– Paint, I used Blushing / Muddy Pond wax (both from Heirloom Traditions)
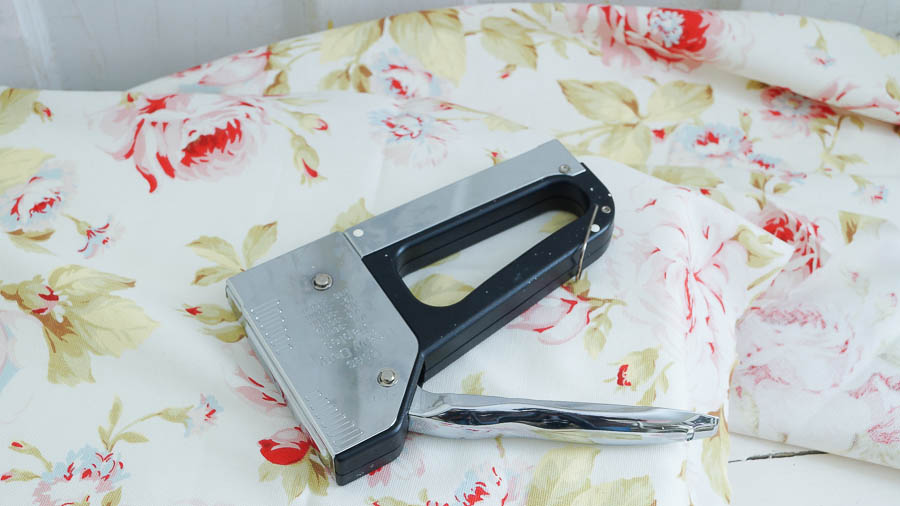
– Staple gun ( make sure the staples are not too big, you don’t want these to show through the other side of your table)
– Glue gun (my best friend)
– Trim ( trim collected from a thrift shop)
The only things I purchased for my project was foam and that board.
I already had everything else that I needed.
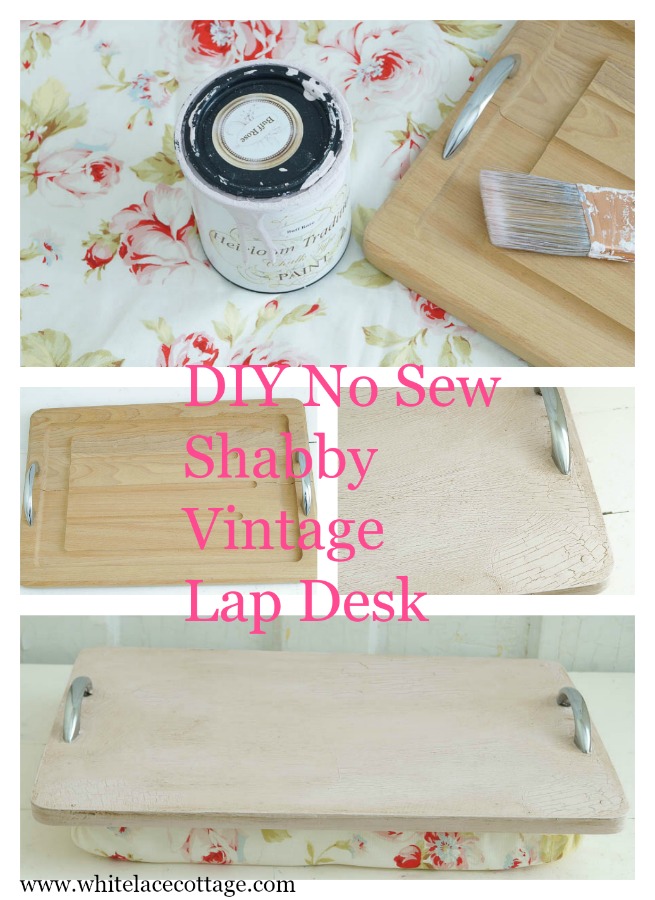
The first thing I did was paint my board front and back.
I did not take those handles off because it made it easier for me to paint it with them on.
I applied two coats of chalk type paint Blushing by Heirloom Traditions paint on the side that was going to be exposed.
After the first coat was dry, I added another coat that was a little thicker than the first coat of paint.
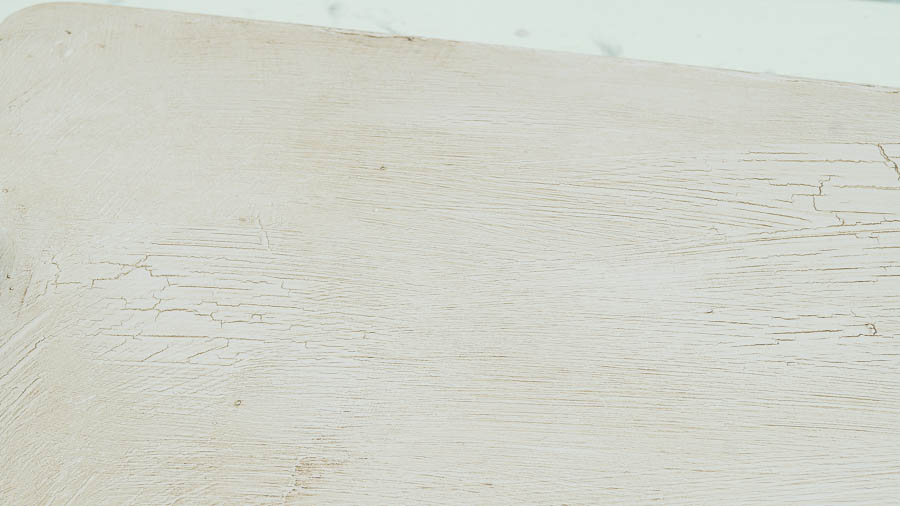
Then I took my hair dryer and applied a little heat , which caused my paint to crackle and craze.
Perfect just what I wanted.
Next I applied Muddy Pond soft wax, which really brought the crazing and cracking in the paint.
After this lap desk was waxed I added my foam to the other side.
My handles are faced the wrong way, just ignore that.
They will be placed on the other side.
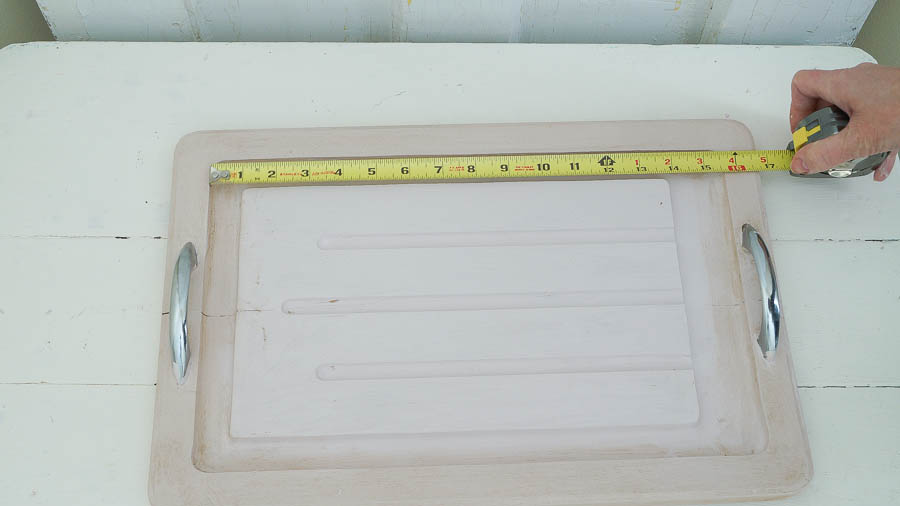
I measured my piece so I knew how much foam to cut.
I just measured the inner part of my board for the foam.
If this board was flat then I would have added foam to the whole piece.
After measuring I cut my foam with scissors.
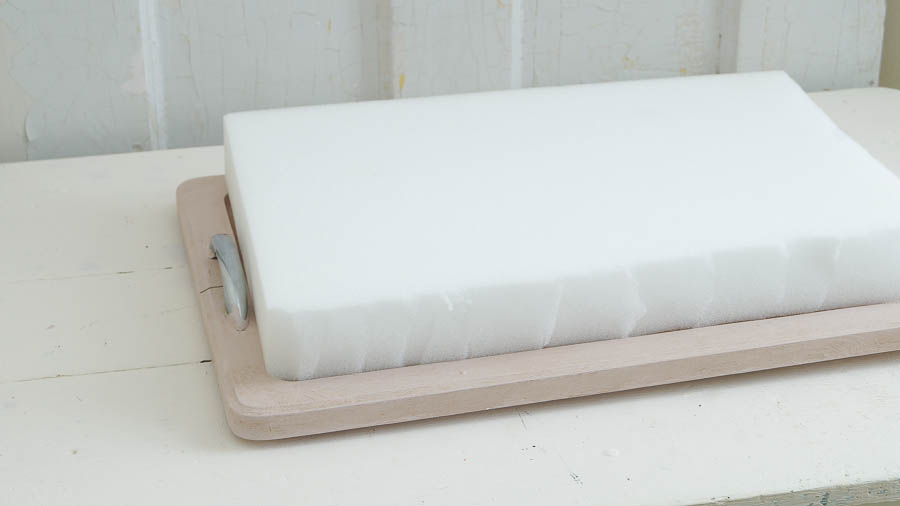
It’s a little choppy on this side, but it’s okay once I add my fabric you won’t see this.
This was the part that I took the hardware off of my piece.
I had to decide where I wanted my pattern, then cut off the excess fabric.
I left my piece of fabric slightly longer, I always do this.
You can’t add more fabric, but you can always cut it off it there is too much.
Once I had this fabric just where I wanted it on my piece, I started to staple it around my board.
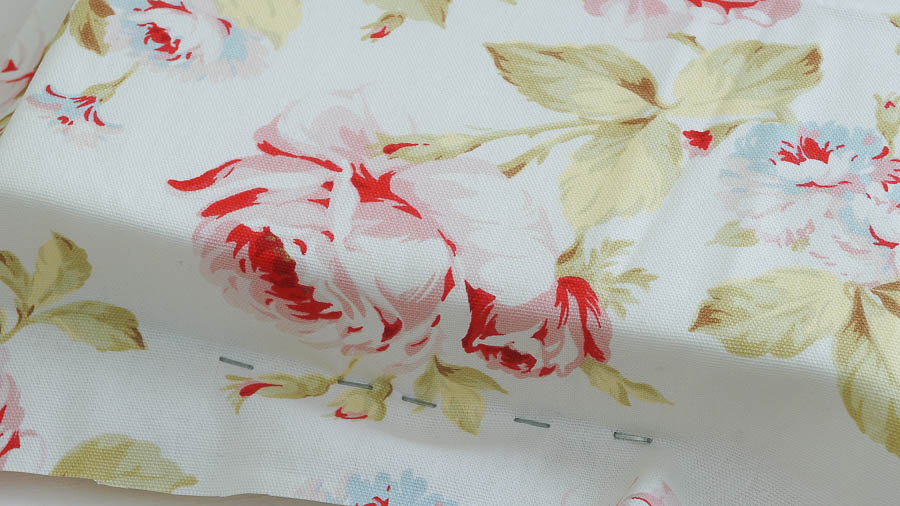
I added a few staples on one side, then I started on another and so on, making sure each side had a start.
Then I went back to where I started, and continued stapling my fabric around my board, as I did I tugged my fabric slightly as I was stapling.
Don’t tug your fabric too much, You don’t want it too tight either.
Once your piece has been stapled, it’s time to cut that excess fabric off.
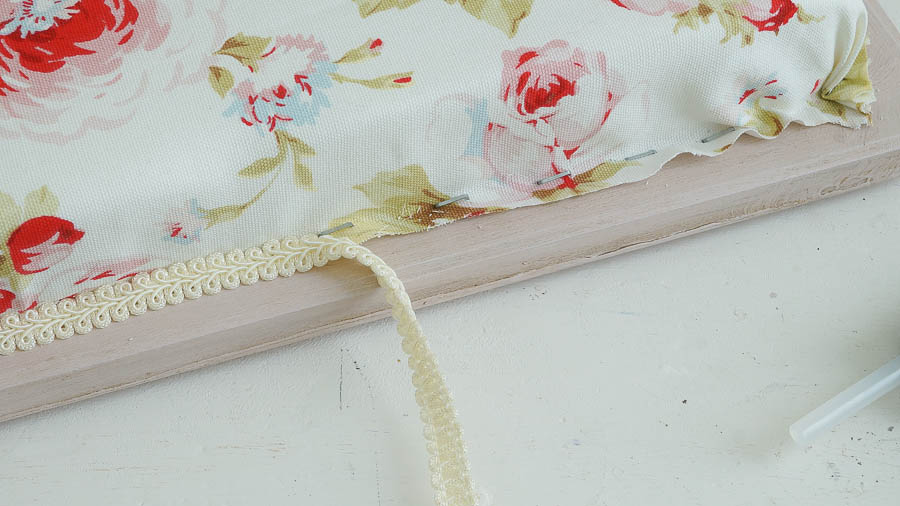
Make sure your glue gun is ready to go because it’s time to start the trim.
I always start in a corner, I glue and apply the trim as I go along.
If there is still a little excess fabric, apply a little glue to your fabric first, then roll it up, apply more glue then add your trim.
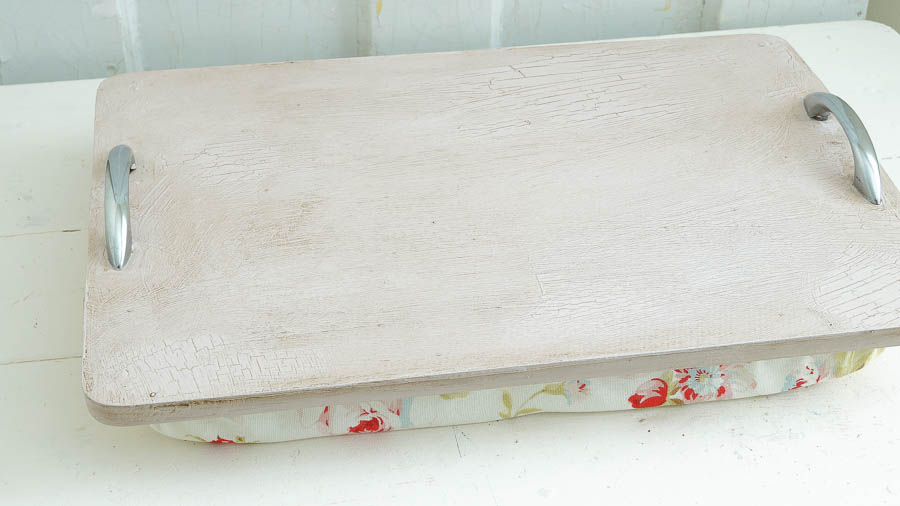
Here it is all finished up.
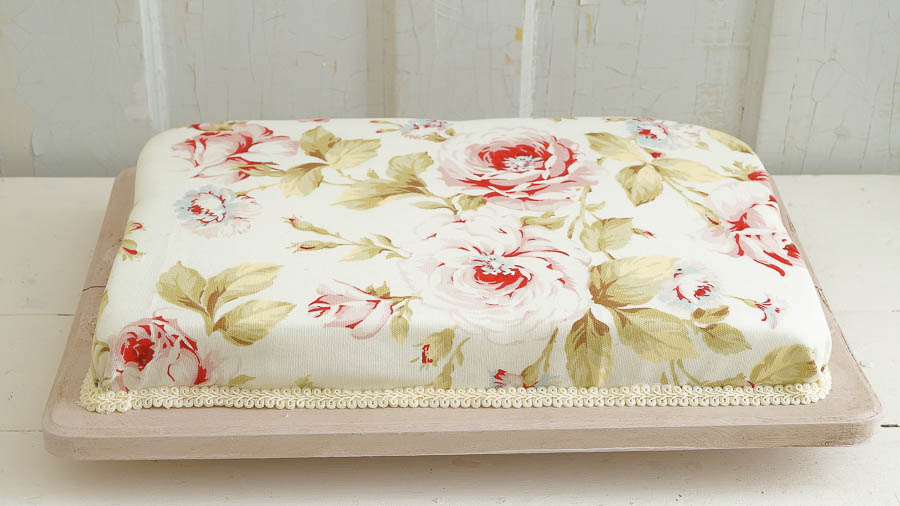
It looks like a Shabby Chic cake!
I really love the color and patina on this piece.
Muddy pond really brings out all of the details and it doesn’t look too dark.
You can see it’s still pink.
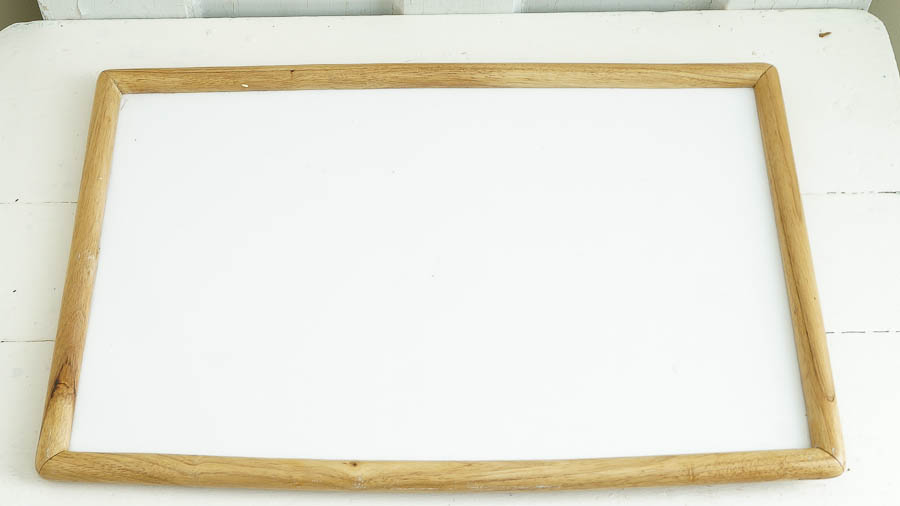
Okay let’s flip this baby over and see how it looks from the other side.

I absolutely love the patina on this side too, it really looks like I used an old board to make this!
Let’s review
******************
To get this chippy look apply your paint just a little thicker, then take a hair dryer and apply a little heat.
Make sure to keep a good distance from your piece with your dryer, and keep moving your dryer too.
As you are doing this you will see the paint start to crackle and craze.
Okay, I know those handles are not the prettiest, and if I find something prettier while thrift shopping I will add those to my lap desk.
Thrift Shop Tips
******************
A couple of things to remember.
I know I say this often, but I will share it again.
Make sure to check out your thrift shops for scraps of fabric, trim and hardware, and wood cutting or serving boards.
I often find craft paints, and glue sticks too!
This shabby vintage lap desk can easily be made for very little money.
Even if you have to purchase the paint and wax, that paint and wax goes a long way.
You will be able to do many projects with that paint and wax.
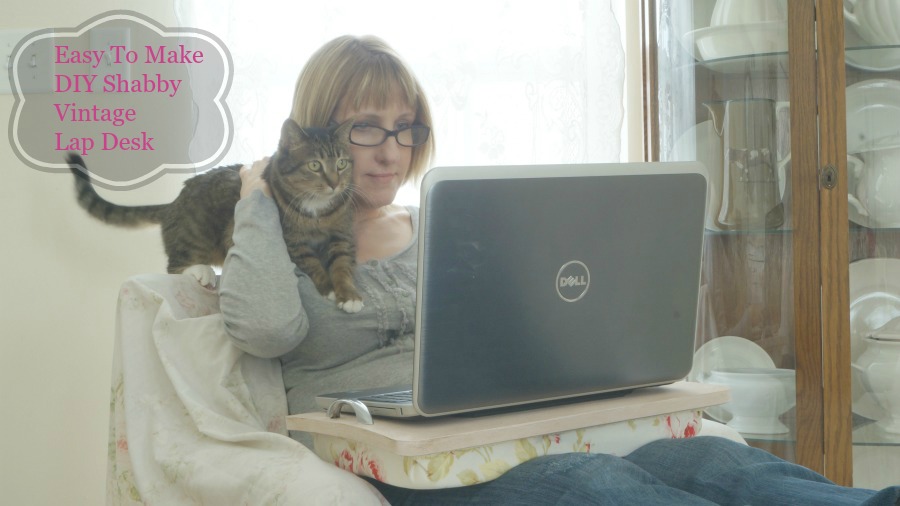
Okay, keeping it real, this is how it is when I am on the computer.
Seriously like all of the time!
Why is it that she always wants my attention when I am knee deep in work.
But when I have a moment she wants nothing to do with me?
Do you have a family pet that’s just as nosy and needy as our cat?
Oh well, I still love her to pieces <3

Very cute Anne. I need one of these!
Kris
Thank you Kris! Well I bet you could whip one up pretty quickly.
Well all i need is a large cutting board, this is a great idea.Anne thanks so much and it looks fabulous.
Thanks so much Marlene!
Anne, your darling cat just thinks she can get a better view of your screen from where she is sitting. Just look at her face! She is reading that screen word for word.
Best wishes.
Yes I think you are right Suzanne!
just the cutest thing! love it, anne!
Thanks so much Lynn!
Well, aren’t you clever. Yours is so much prettier than my plain Jane store bought one. I do all my work on the laptop.
Thank you Kim!I really do love this one…the color and patina is perfectly shabby chic!
Anne, how cute is this. I love it and what a great tutorial. My favorite pic is you with your kitty up on your shoulder, that’s totally how it is at our house too. Have a great day, Lisa at Concord Cottage
Thanks so much Lisa!